


If you’ve ever been let down by a tough, dry grass-fed steak, I can almost guarantee the problem wasn’t the beef—it was how it was cooked. This isn’t a knock on your skills. It’s just that grass-fed beef plays by a completely different set of rules than the grain-fed cuts most of us grew up with.
The secret to a tender, juicy result every time? Forget what you know about high-heat searing. Master a few simple adjustments, and you’ll nail it. The key is to cook it about 30% faster than conventional beef, use lower heat, and always, always let the meat come to room temperature before it even thinks about hitting the pan.
The Secret to Perfect Grass-Fed Beef
The incredible leanness of grass-fed meat is its greatest strength, giving it that rich, mineral-forward flavor. But that lack of intramuscular fat (marbling) also means there’s less insulation protecting the muscle from the heat. This is why it cooks so much faster and has a much smaller window for error.
High heat, the kind that works wonders on a heavily marbled grain-fed ribeye, will often cause a lean grass-fed filet to seize up and turn tough. The solution isn’t complicated; it just requires a bit more finesse and a lighter touch.
Why Slower and Lower Is Better
Your primary goal when cooking grass-fed beef is to hold onto its natural moisture. Because there's less fat to render and baste the meat as it cooks, a gentler approach is your best friend.
Here’s what that looks like in practice:
- b Roasts: Drop your oven temperature by about 25 to 50 degrees Fahrenheit from what a standard recipe calls for. This slower cooking process gives the muscle fibers time to relax and tenderize without squeezing out all their precious juices.
- For Steaks: Aim for medium-high heat on the stovetop, not a ripping-hot, smoking pan. This lets you build a beautiful crust without blasting the interior and overcooking it before it’s even warmed through.
- On the Grill: Keep your steaks away from the direct, intense flame. Work with indirect heat or find the cooler zones on your grill to manage the cooking process with more control.
To give you a clearer picture, here’s a quick cheat sheet for the key adjustments you’ll need to make.
Grass Fed vs Grain Fed Cooking Adjustments
This table breaks down the essential shifts in technique when moving from conventional beef to leaner, grass-fed cuts.
Cooking AspectGrain Fed Beef (Conventional)Grass Fed Beef (Recommended)Cooking TimeStandard recipe timeReduce by ~30%Oven TempAs per recipeLower by 25-50°FSearing HeatHigh / Screaming hotMedium-highInternal TempPulled at target tempPull ~10°F below target tempResting Time5-10 minutes10-15 minutes (crucial)
Remember, these aren't just suggestions—they're fundamental to preventing a dry, tough outcome. The lack of fat in grass-fed beef means it continues to cook more aggressively off the heat, making that slightly earlier pull time and longer rest absolutely critical.
The Science Behind Temperature and Tenderness
Temperature control is everything. As meat heats up, its proteins contract and squeeze out moisture. In leaner cuts, this process happens much faster, and aggressive heat can cause them to tighten up almost instantly. The meat's internal pH also affects its final texture and ability to hold moisture, a delicate balance that is easily thrown off by overly aggressive cooking.
The most common mistake is treating grass-fed beef like its grain-fed counterpart. The lack of fat means there's no safety net—you must be more attentive to time and temperature to protect its delicate texture and rich, earthy flavor.
By embracing a "low and slow" mindset, even for quick-cooking cuts like steaks, you give the meat the best chance to stay tender and juicy. For more on the science, our deep dive into how pH levels in meat influence tenderness is a great resource. It’s not about complex techniques, but simple, deliberate adjustments that respect the unique nature of the beef itself.
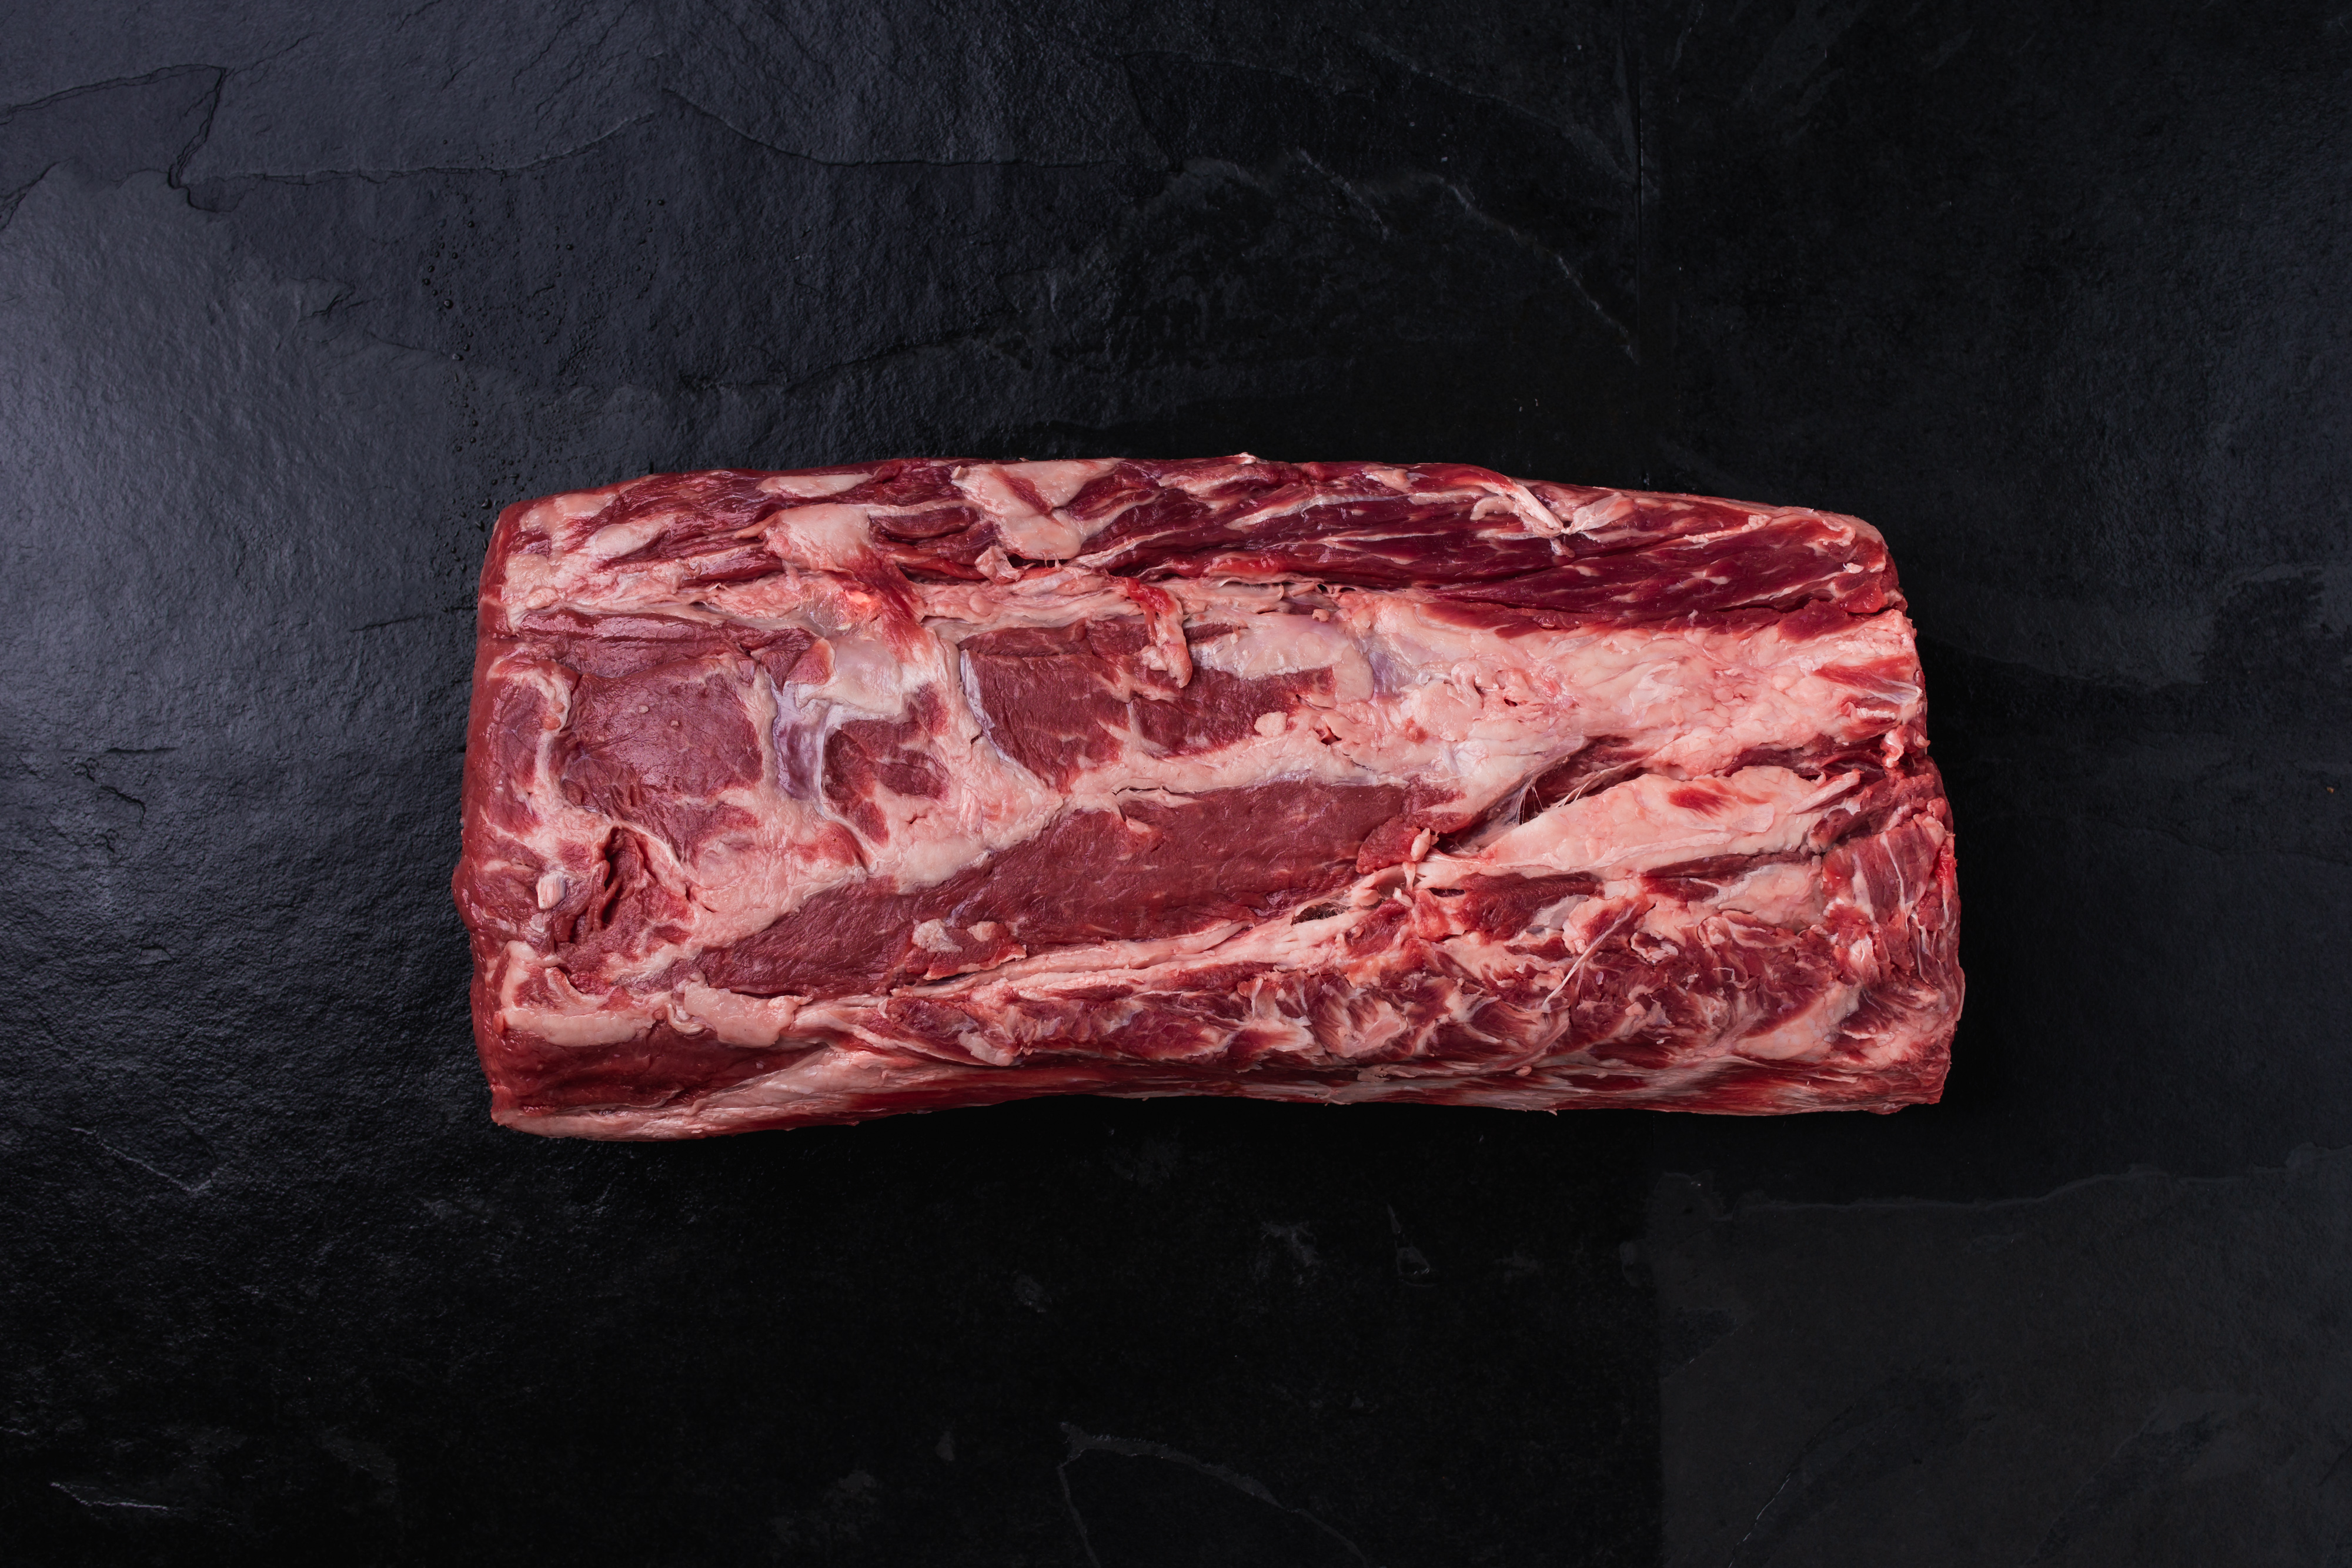
Choosing and Prepping Your Cut
A perfect grass-fed steak doesn’t happen by accident. The process starts long before a pan ever gets hot—it begins right at the butcher counter. Knowing your cuts is everything, especially when you’re dealing with leaner grass-fed beef.
For a fast, high-heat sear, you need a tender cut. Think filet mignon or a New York strip. These have less connective tissue, making them perfect for quick cooking. On the other hand, if you’re planning a slow braise or a rich stew, you want a cut with more marbling and connective tissue, like a chuck roast or brisket. Those tougher cuts become melt-in-your-mouth tender when cooked low and slow.
Set the Stage for a Perfect Sear
Once you have your steak, there are two prep steps that are absolutely non-negotiable. Get these right, and you’re halfway to a beautiful crust and a juicy interior.
First, let your beef sit out at room temperature for at least 30-45 minutes before it goes anywhere near the heat. Tossing a cold steak into a hot pan is a cardinal sin. The outside will overcook and turn a sad gray color long before the inside even starts to warm up, leaving you with an uneven, tough result.
Second, pat the surface of the meat completely dry with paper towels. I can't stress this enough: moisture is the mortal enemy of a good sear. A damp steak will just steam in the pan, which completely prevents the Maillard reaction—that magical chemical process that creates the deep brown, ridiculously flavorful crust we’re all after.
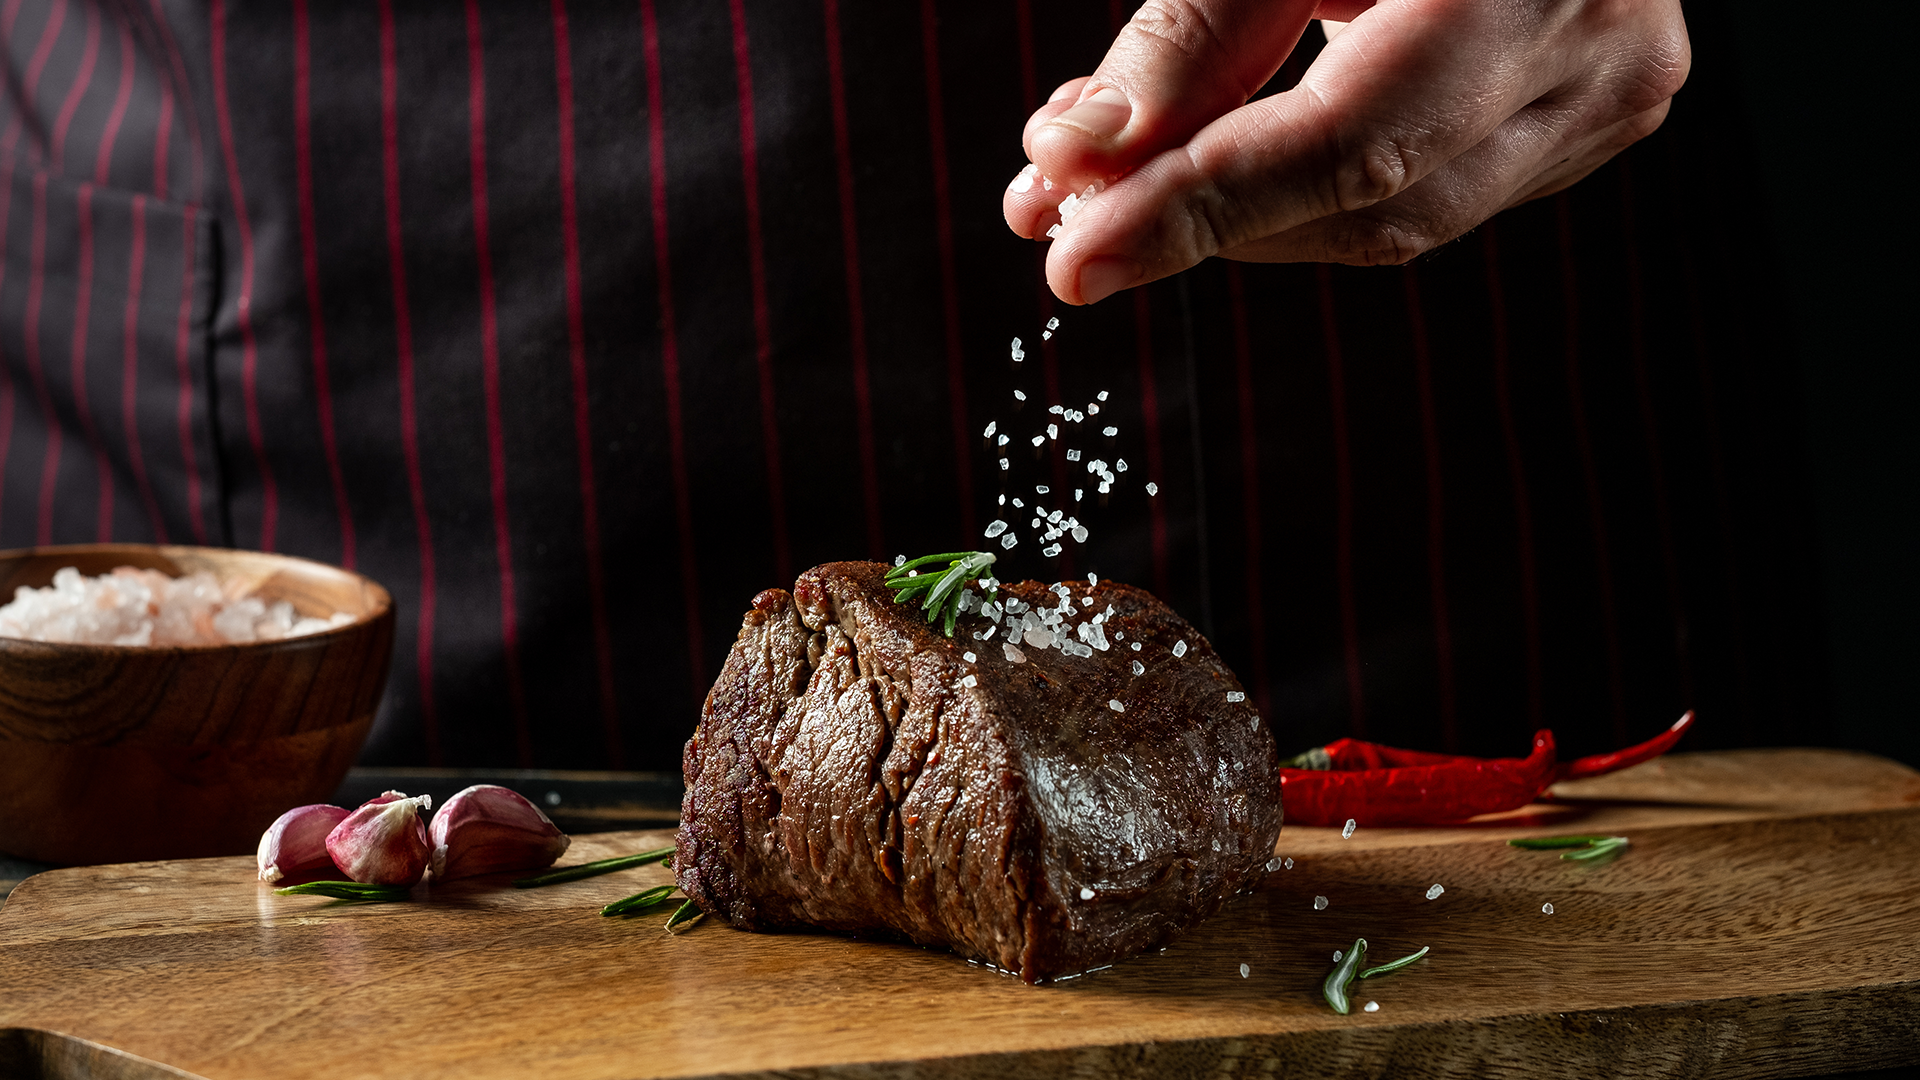
Seasoning to Amplify Natural Flavor
When it comes to grass-fed beef, simple is almost always better. The goal is to highlight its unique, earthy flavor, not bury it.
A generous hand with coarse sea salt and freshly cracked black pepper is usually all it takes. The key is to apply the salt just before the steak hits the pan. If you salt it too far in advance, the salt will start to draw moisture to the surface, and we already know what that does to our sear. Let the clean, rich taste of the beef do the talking.
It’s worth noting that this leaner profile is what draws many people to grass-fed beef in the first place. A typical grass-fed ground beef has a fat content between 15% and 20%, which puts a 4-ounce serving at roughly 250 to 300 calories. It also packs in more vitamin A, vitamin E, and powerful antioxidants, making it a choice that feels as good as it tastes.
A dry surface and room-temperature meat are your two greatest allies. Skipping these steps is the most common reason home cooks are disappointed with their results. Take the extra time here—it pays off dramatically in the final product.
By nailing these fundamentals—picking the right cut and prepping it with care—you’re setting yourself up for success every time. And if you’re looking to get a little more adventurous, our guide to the top 5 Argentine cuts of beef has some incredible options that might just inspire your next meal.
Mastering Key Cooking Techniques
With your grass-fed beef prepped and ready, it's time to cook. This is where technique really matters. Because the beef is so lean, your primary goal is to manage heat carefully to protect its natural moisture and prevent it from drying out.
Let's get into the most effective methods. While you have plenty of options, most home cooks in the United States lean on pan-searing, grilling, and stewing. Each one just needs a slight adjustment to get the best out of your beef.
The infographic below breaks down the simple, universal workflow that sets you up for success with any of these techniques.
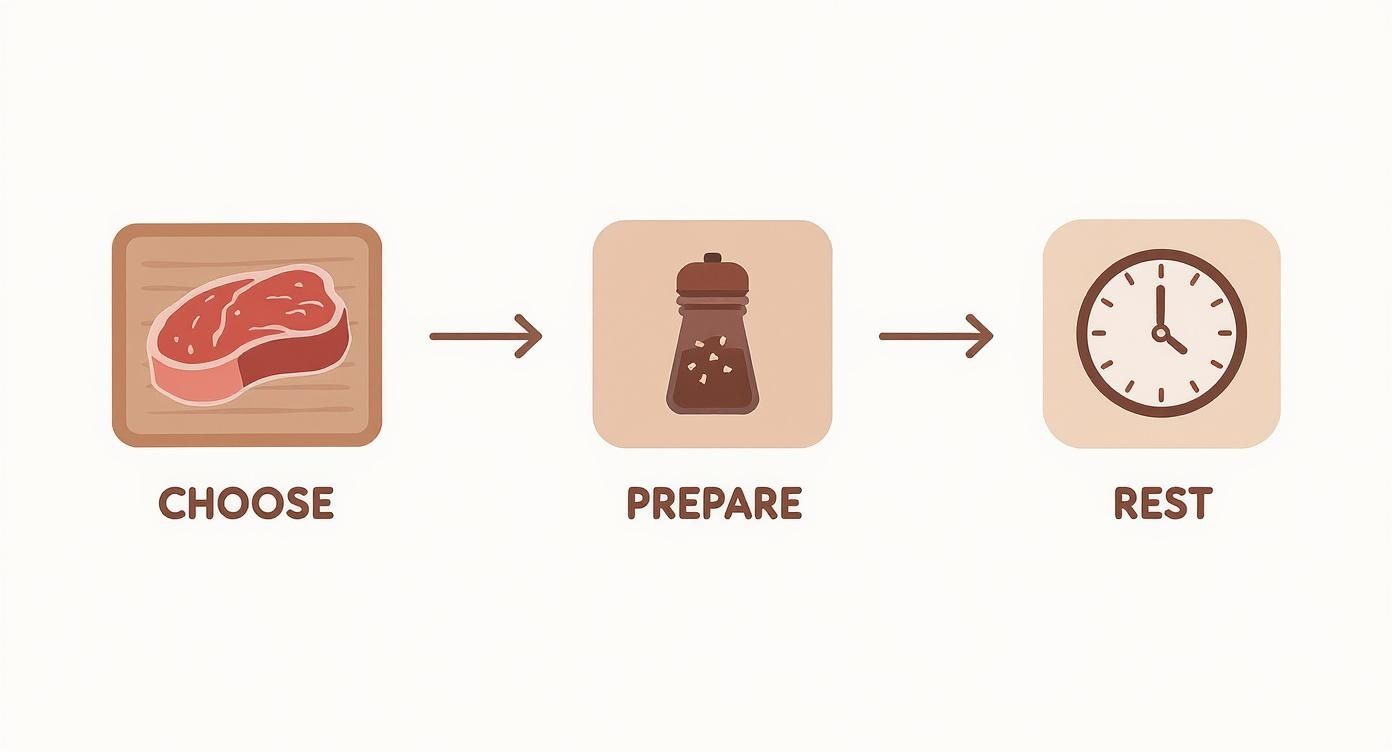
This visual just reinforces the fundamentals: choosing the right cut, preparing it properly, and letting it rest. Nail these, and you've won half the battle.
Perfect Pan Searing
For individual grass-fed steaks like a New York strip or filet, pan-searing is arguably the best approach. It gives you maximum control over temperature, which is exactly what this lean meat needs.
Start with a heavy-bottomed pan—cast iron is perfect—over medium-high heat. Add a fat with a high smoke point, like ghee or avocado oil. Once you see the oil shimmer, gently lay your seasoned steak in the pan.
Sear it for 2-4 minutes per side to build that beautiful, deep-brown crust. Then, the crucial step: immediately turn the heat down to low to finish cooking it gently.
Pro Tip: Want to elevate the flavor and add moisture? In the final minute of cooking, toss in a knob of butter, a crushed garlic clove, and a sprig of thyme. Tilt the pan and use a spoon to continuously baste the steak with that foaming, herby butter. It’s a classic technique that keeps the meat incredibly juicy.
Grilling Without the Guesswork
Nothing beats the smoky char from a grill, but that intense, dry heat can quickly rob grass-fed beef of its moisture. The secret is creating a two-zone fire. You need one side for direct, high heat and another for cooler, indirect heat.
Sear the steak over the direct heat for a couple of minutes per side to get those perfect grill marks. Immediately move it to the cooler, indirect side to finish cooking through. This simple move prevents the outside from burning before the inside hits your target temperature.
Try to keep the grill lid closed as much as possible. This creates a convection effect that helps the steak cook more evenly from all sides. For a complete walkthrough, check out our recipe for Grilled Rib Eye Steak with Chimichurri Sauce.
Low and Slow Braising and Stewing
For tougher cuts like a chuck roast or brisket, low-and-slow methods are your best friends. These techniques use moist heat over several hours to break down all that tough connective tissue, transforming it into rich, fall-apart-tender gelatin.
Start by searing the beef on all sides in a heavy pot or Dutch oven. This isn't just for color—it builds a deep, foundational flavor. Remove the meat for a moment and sauté your aromatics (onions, carrots, garlic) in the rendered fat.
Pour in your braising liquid—beef broth, red wine, or even water works—and bring it to a simmer. Add the beef back to the pot, cover it, and slide it into a low oven set to around 300°F. Let it go for several hours until it’s completely tender.
As you master these techniques, remember that understanding and applying these essential food safety temperature control tips is vital for a safe and delicious meal every time.
Internal Temperature Guide for Grass Fed Beef
For grass-fed beef, hitting the right internal temperature is non-negotiable. It’s leaner, so it cooks faster and has a much smaller window for perfection. Don't guess—always use a reliable meat thermometer.
Pull your beef from the heat about 5°F below your target temperature. It will continue to cook as it rests, a process called carryover cooking. This ensures it lands perfectly at your desired doneness instead of overshooting it.
DonenessTarget Internal Temperature (°F)DescriptionRare125°FCool red centerMedium-Rare135°FWarm red centerMedium145°FWarm pink centerMedium-Well150°FSlightly pink centerWell-Done160°FLittle or no pink
Remember, these temperatures are your finish line. Aiming for that medium-rare sweet spot of 135°F usually delivers the best combination of tenderness and flavor for grass-fed steaks and roasts.
Why Resting Your Beef Is Non-Negotiable
Patience is everything. After all that work—sourcing, seasoning, and searing—the final few minutes are where most home cooks go wrong. Slicing into a steak straight from the heat is the fastest way to undo all your hard work.
What you end up with is a dry, disappointing meal and a cutting board swimming in juices that should have stayed in the meat. This simple pause, what we call resting, is the secret that separates the amateurs from the pros.
The Science of Juiciness
When beef cooks, its muscle fibers tighten up, squeezing all the flavorful juices toward the cooler center of the cut. If you cut into it right away, those juices have nowhere to go but out. All over your board.
Resting lets those muscle fibers relax. As the meat cools just slightly, the pressure inside drops, allowing the juices to redistribute evenly back through the entire cut. Every single bite becomes succulent and rich, not just the very middle.
The rule is simple: the more intense the cooking, the longer the rest. A quick sear requires less time than a slow roast, but the principle is the same. Skip this, and you’re guaranteed a dry steak.
This step is especially critical for grass-fed beef. Because it's so lean, it has less fat to keep it moist. Holding onto every last drop of natural juice is absolutely essential for a tender, flavorful result.
How Long to Rest Your Beef
The right resting time comes down to the size and thickness of the cut. A massive roast holds a ton of heat and needs more time to let the temperature stabilize and the juices settle. A thin steak, not so much.
Here are some reliable guidelines I use in my own kitchen:
- Steaks and Chops: For cuts like a New York strip or a filet, aim for 5 to 7 minutes. A good rule of thumb is to rest it for about half the cooking time.
- Large Roasts: For big-ticket items like a prime rib or brisket, you'll need significantly more time. I let these go for at least 15 to 20 minutes before I even think about carving.
To keep your beef warm without ruining that perfect crust, just tent it loosely with a piece of aluminum foil. This traps just enough warmth while still letting air circulate, preventing the surface from steaming and going soft.
Common Mistakes and How to Fix Them
Even if you’ve been cooking steaks for years, grass-fed beef can throw you a curveball. It’s a different animal, literally. Its leanness means the usual rules for cooking a steak don’t always apply, but understanding a few common pitfalls is the fastest way to get a perfect result every single time.
One of the biggest culprits behind a tough steak is cooking it straight from the fridge. A cold piece of beef hitting a hot pan is a recipe for disaster—you end up with a dreaded gray band of overcooked meat on the outside while the center struggles to catch up.
The fix is ridiculously simple: let your beef sit out at room temperature for a good 30-40 minutes before you even think about cooking it. This small step makes a huge difference in ensuring it cooks evenly from edge to center.
Another classic error is just cranking the heat to high and leaving it there. While you absolutely need that initial blast of high heat for a beautiful, crusty sear, keeping it that hot for the entire cook time will just seize up the lean muscle fibers, making them tough and chewy.
Overcooking and Why a Thermometer Is Your Best Friend
The single biggest mistake you can make with grass-fed beef is overcooking it. Hands down. Because it's so lean, it cooks roughly 30% faster than its grain-fed counterpart. That window for a perfect medium-rare is tiny, and a minute too long can turn a beautiful, premium cut into a dry, sad piece of leather.
Your best insurance policy against this culinary crime? A digital meat thermometer. It takes all the guesswork out of the equation.
- The Mistake: Relying on timing guides or the old "poke test." These just aren't reliable enough for beef that cooks this quickly.
- The Fix: Use an instant-read thermometer and pull the steak from the heat about 5°F below your final target temperature. It will continue to cook as it rests, a process known as carryover cooking.
A meat thermometer isn't a crutch; it's a precision tool. When you've invested in a quality piece of grass-fed beef, guessing is a risk you just don't need to take. It's the key to repeatable success.
Seasoning and Fat: The Finishing Touches
Finally, let’s talk about two subtle but critical details: when you season and what you cook with. A lot of people salt their steak way too early, which just draws moisture to the surface and stops you from getting that perfect, deep-brown sear. For the best crust, season generously with salt and pepper right before the beef hits the pan.
And please, don't cook it in a dry pan. Grass-fed beef has very little of that internal, marbled fat, so it needs a little help. Cooking without any added fat will make it stick and can lead to a drier texture.
The Solution: A Good Cooking Fat
Always get a slick of high-smoke-point fat shimmering in your pan before the steak goes in. This not only prevents sticking but also helps conduct heat evenly across the surface, adding a bit of flavor and moisture.
- Ghee (Clarified Butter): You get all that rich, buttery flavor without the milk solids that tend to burn at high heat.
- Avocado Oil: A fantastic neutral option with a super high smoke point, making it perfect for searing.
- Beef Tallow: My personal favorite. It adds a deep, beefy richness that just perfectly complements the flavor of the meat.
By sidestepping these common slip-ups—cooking cold, using relentless heat, ditching the thermometer, and forgetting the fat—you're setting yourself up for a tender, juicy, and incredibly flavorful grass-fed beef experience. Every single time.
Answering Your Grass Fed Beef Questions
Even when you follow the steps, cooking grass-fed beef can throw you a curveball. It’s a different beast than conventional beef, so a few questions are bound to come up. These are the issues we hear about most often, with practical answers drawn from years of working with this incredible product.
Think of this as your personal troubleshooting guide—no theory, just real-world advice that works.
Why Does My Grass Fed Beef Taste Tough or Dry?
This is the number one issue we see, and the culprit is almost always the same: overcooking. Grass-fed beef has far less intramuscular fat, which means the window for achieving perfect doneness is much narrower. That fat in grain-fed beef acts as a safety net, keeping the meat moist even if you overshoot the temperature. With grass-fed, you don't have that buffer.
The solution is simple: trust a meat thermometer, not your eye. Pull your steak from the heat when it hits 125°F-130°F for a perfect medium-rare. And whatever you do, don't skip the rest. Letting it sit allows the juices to settle back into the muscle fibers, which is non-negotiable for a tender result.
Can I Use the Same Recipes I Use for Regular Beef?
Absolutely, as long as you make a few key adjustments. You can adapt nearly any recipe, but you have to respect how much faster grass-fed beef cooks.
Here’s what to change:
- Cut the Cooking Time: As a rule of thumb, expect your beef to be ready about 25-30% faster than the recipe states.
- Turn Down the Heat: If a recipe calls for a 400°F oven, dial it back to 350°F. For searing on the stovetop, think medium-high, not blazing hot.
The real takeaway here is to be more attentive. A meat thermometer is your source of truth, not the kitchen timer. Make these simple tweaks, and you can keep all your favorite recipes in rotation without sacrificing texture.
What Is the Best Fat to Cook Grass Fed Beef In?
Because grass-fed beef is so lean, you need to bring some fat to the party. Adding a good, healthy fat to the pan is crucial—it prevents sticking, encourages a beautiful crust, and adds a layer of moisture. The key is to choose a fat with a high smoke point that can handle the heat of a good sear.
These are our go-to choices:
- Ghee (Clarified Butter): You get that rich, buttery flavor without the milk solids that tend to burn.
- Beef Tallow: Nothing complements the flavor of beef better than, well, beef fat. It’s a perfect match.
- Avocado Oil: This is a great neutral option. Its smoke point is incredibly high, making it ideal for searing.
Steer clear of extra virgin olive oil for high-heat cooking. Its smoke point is too low, and it will burn, creating bitter off-flavors. Save it for a finishing drizzle instead. The right fat doesn't just cook your beef; it elevates it.
At WorldClass, we believe that exceptional meals begin with extraordinary ingredients. Explore our curated collection of premium grass-fed beef and other specialty provisions, sourced from the world's finest artisan producers. Discover the difference that quality and care can make in your kitchen at https://www.worldclass.com.
.webp)

.webp)


